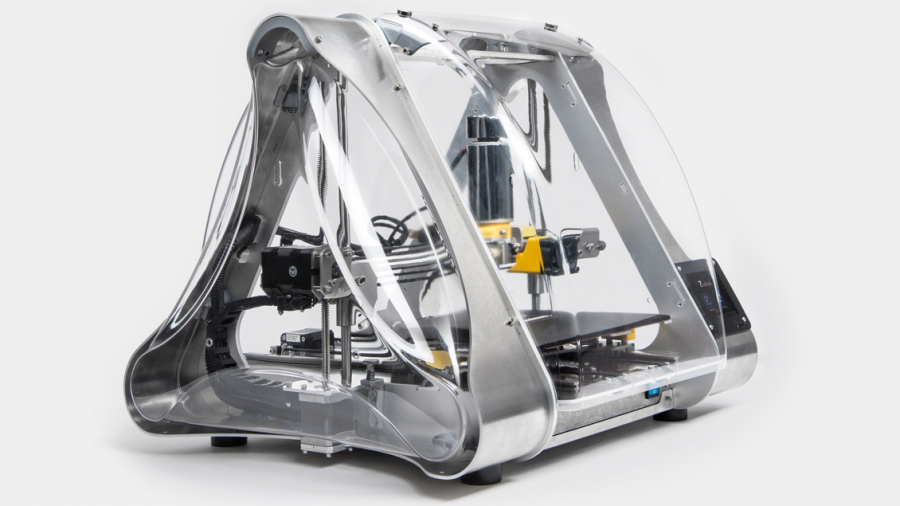
After doing the unboxing (and prior first look), my next step with the ZMorph 2.0 SX Full Set was to follow the included Quick Start Guide. I already did the basic unpacking and table placement, so the first quick start item I actually had to do was remove the two Velcro “transit locks,” one by the print head and the other by the build plate, although the latter transit lock was already off as it snapped during shipping.

One thing that’s kind of neat right off the bat is that there are several magnets on the two removable hoods, so they stay in place nicely when you raise them, although the left side of my front hood doesn’t automatically align well without some manual intervention.

The only other real anomaly from shipping from Europe to here in the US was a small screw that I uncovered when first unboxing the unit, and tiny washer that was found in the build area. Presumably, they’re not important parts.
I then plugged in the power cable and turned the unit on.

After applying power, the slightly noisy fan(s) whirred into action and the color touchscreen came to life. Interestingly, the pre-installed single extruder 3D print head also appears to have little LED lights. Presumably that will keep what it’s presently printing illuminated.
The next step in the quick start was to go to the www.zmorph3d.com/getting-started/ Knowledge Base. The ZMorph 2.0 SX is one of the better documented printers, with an incredible amount of online support materials and a wealth of information to sort through. This knowledge base does a good job of focusing in on many of the essentials.
On the back of the Quick Start Guide is a nice diagram of the key components of the printer and everything that’s included in the included toolbox. The toolbox contains:
- Hex key (4)
- Nozzle key
- Tweezers
- Blade
- Brush
- Keys/wrench (3)
- Screwdriver
- Touchprobe
- Touchprobe cable
- Spool holder sets (2)
- Cooling fans (2)
- Drill holder
- 0.4 drill
- Y belt tension tool
- 0.4 nozzle
- Pellets for ABS juice
- SD card
- Foam tape
I don’t know what several of those items are in the toolbox, but I’m certainly intrigued. I look forward to making use of every one of those items in the weeks ahead.

The remaining materials in the plastic zip bag include a catalog, warranty card, and other miscellaneous paperwork.
Following the instructions in the Knowledge Base, I downloaded and installed the newest version (1.4.17 64-bit, which came out on September 2, 2016) of the Voxelizer software on my Windows 10 desktop. Voxelizer is a dedicated software package that drives the ZMorph and other RepRap-compatible printers, extending the capabilities of widely available open-source software to support the extensive feature-set found in the ZMorph 2.0 SX.
Naturally, before I get into the CNC milling or laser cutting (not to mention thick paste extrusion!), I want to try simple single extruder 3D printing, which will be my next entry in this series. From there I can move onto using the DualPRO extruder and the machine’s various other (and extensive) features, which I’ll of course also cover in future installments.
Next up, basic 3D printing with the ZMorph 2.0 SX!


 Your total news and information resource for all things Science, Technology, Engineering / Mathematics, Art, and Medicine / Health.
Leave a Comment