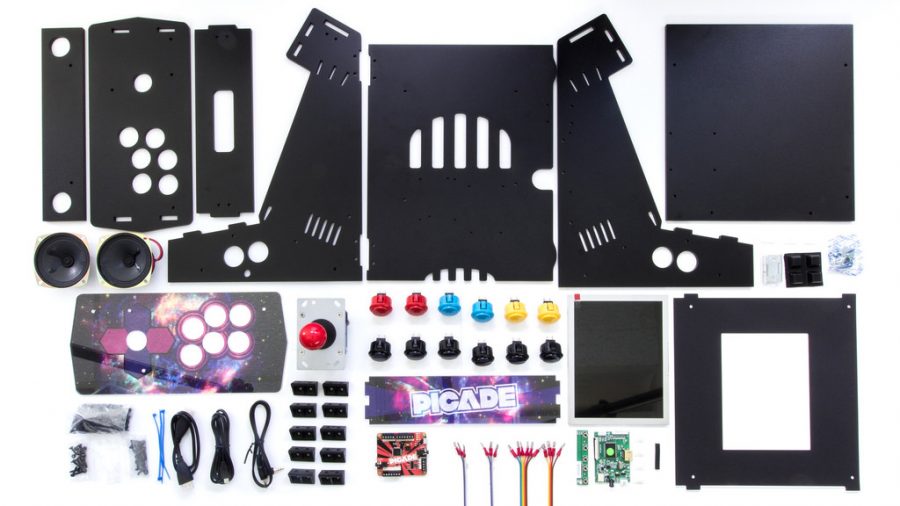
This is part two of my attempt to build the original Kickstarter version of the Pimorini Picade. Part one is here.
As we left off, I was getting ready to work on the control panel. As you’ll read, I took a brief detour first…

Although my plan was to start in on the next step in the process, the control panel, the rear access panel was bothering me. Although it worked, I was able to get only two of the four screws and bolts in and I had the swivel joints reversed, so they showed on the outside of the panel (it should have just been the screws that showed). As you can see from the photo, I was able to get it on the right way. I still could only fit two of the four screws and bolts, but I took out my drill and its smallest bit and drilled out a little extra room. Now all four screws and bolts fit and it’s secure. I had to adjust the locking clip a bit, but now it’s perfect. I wish I could do a similar fix for the cloudy marquee mystery, but this to me was more important.

It closes nicely.

The next step was to sandwich the control panel art (I chose the same style as the marquee) between the control panel plexiglass and wood backing. I was worried about this step after the marquee issue, but after peeling both sides of the plexiglass, it was nice and clear.

The finished product.

The next step was attaching the joystick. I just removed the ball top and plastic disc, then inserted it through the hole. I secured it with two of the longer screws.

The next was to attach the buttons. These popped in fairly easily.

The bottom of the completed control panel, prior to the wiring.

The remaining buttons in the kit went directly on the cabinet.
Next step, which will be covered in the the third entry, is the control panel and PCB wiring. That’s going to be quite the process, perhaps only second in frustration to attaching the rear door. We’ll see.
On a side note, even though I already have a Raspberry Pi Model B (it originally had another purpose), I decided to order a Model B+, which is faster and has more RAM. I also ordered a 32GB Class 10 MicroSD card to go in it (the older Model B board uses a full-sized SD card). While this added $50 to my build cost, I think it will be worth it in the end, providing all of the performance as a transportable emulation machine this should ever need. Hopefully it arrives by this Wednesday.
Read the rest of the series:


 Your total news and information resource for all things Science, Technology, Engineering / Mathematics, Art, and Medicine / Health.
Leave a Comment