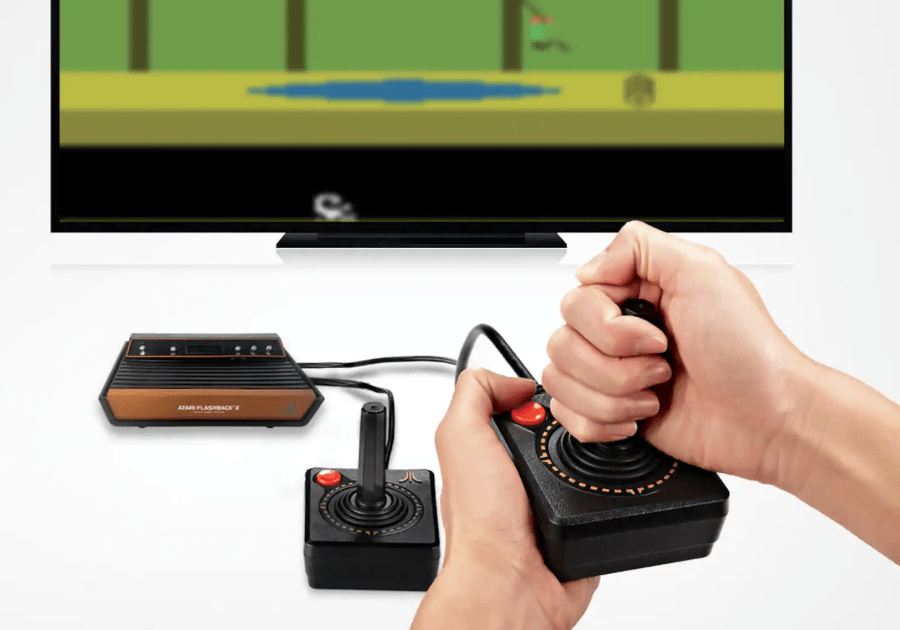
What follows is a guide on how to upgrade the AtGames Atari Flashback X (2019 model) to support external USB flash drives.
Note that this guide is provided solely as a reference and all responsibility falls on the person performing these actions, including the possibility of damaging your console and voiding your warranty. In other words, you perform these actions solely at your own risk, so make sure you know what you’re doing and are aware of the potential risks.
This unofficial guide is provided as-is with no guarantee or support of any kind (I am not the author). No typos or other possible errors have been corrected and the information that follows is subject to change without further notice.
Begin:
Tools/files you’ll need:
1. Philips head screwdriver
2. “Y cable” (OTG split cable with at least: 1x male 5-pin micro, 1x female 5-pin micro, 1x female Type-A USB, must be able to supply power to the male micro USB):
- Tested Y cable Example 1: Amazon link
- Tested Y cable Example 2: AliExpress link
3. 5-pin Micro to Type A USB cable
4. RKDevTool v2.69 (AndroidTool_Release_v2.69.zip, part of Download Package below )
5. DriverAssistant v4.8 (DriverAssitant_v4.8.zip, part of Download Package below )
6. Firmware image (ar3060_1015.img, part of Download Package below)
7. USB drive
8. Windows PC

Before you start:
Unzip DriverAssistant_v4.8.zip and run DriverInstall.exe to install the driver on your PC.
Step 1
Make sure Atari Flashback X console is turned off and use screwdriver to unscrew the 4 screws at the bottom.

Step 2
Carefully open the cover without disconnecting any cables inside.
Connect micro USB cable between the console and your computer.
Unzip AndroidTool_Release_v2.69.zip and run AndroidTool.exe.

Step 3
Press and hold the recovery button on the PCB and power on the console.

Step 4
Continue to hold the recovery button until the tool shows “Found One LOADER Device” in its status bar.
Click on the “Upgrade Firmware” tab and then click on the “Firmware” button.
Locate the firmware image on your PC, click on “Upgrade” button and wait until “Reset Device Success” shows in the status window.


Turn off the console and disconnect it from your PC.
Step 5
To prepare your USB drive, make sure it uses FAT (FAT32) file system. You can choose this when you format the drive. Make sure your drive uses the MRB partition style*, otherwise the console will not recognize it. (*See Step 5.1 for conversion steps.)
Create a “Game” directory under the USB drive, make sure the cases are correct or your games won’t be loaded.
The console only takes game files with “.a26” extension (rename other formats like “.bin” to “.a26” as necessary), make sure you have the correct extension for your files and copy them into the “Game” directory created in the previous step.


Step 5.1 (Optional)
Use the following steps to convert your USB drive to MBR and format it on a Windows PC (Note: This is only necessary if your USB drive is not already correctly formatted for use with the Atari Flashback X.):
Warning: The formatting process means data loss, so please back up anything important before proceeding.
- On your keyboard, press “Windows” + “R” at the same time to open “Run” Window, then type “Diskpart” and click “OK” (click Yes if prompted by the User Access Control) to open a command prompt window.
- Type “list disk” and hit “Enter” to see all disks connected to your computer, and you identify which drive needs to be formatted. Warning: You must choose the correct disk or you risk formatting your PC’s drive. (We will use “disk x” in the following steps.)
- Type “select disk x” and hit “Enter”, then the command prompt will display a message, “Disk X is now the selected disk”.
- Type “clean” and press “Enter” to initialize disk.
- Type “convert mbr” to set disk to use MBR.
- Type “create partition primary” to add a new partition to the disk.
- Type “format FS=FAT32 QUICK” to format the new partition to use FAT32.
- Type “exit” to close the prompt, you are now ready to use the drive.

Step 6
Connect the power cable and the USB drive to the console using the Y cable and turn the console on.
If all goes well, you should see a new file menu called “Ext. USB Drive” at the bottom left of the screen with all your games inside.
Enjoy!


 Your total news and information resource for all things Science, Technology, Engineering / Mathematics, Art, and Medicine / Health.
21 Comments
Leave your reply.