Originally a Kickstarter project from the UK that ended on November 29, 2012, I received my Picade kit here in the US around the second week of November 2014. I only just started building it tonight, which tells you a lot about my To Do list. If you’re interested in your own kit, it’s now available directly from the Pimoroni Website.
This is part one of what will likely be a three or four part series, but ultimately, who knows at this point? In this (hopefully) short series, I’m going to visually document the build process and provide light commentary that’s mostly related to any issues I’ve run into.
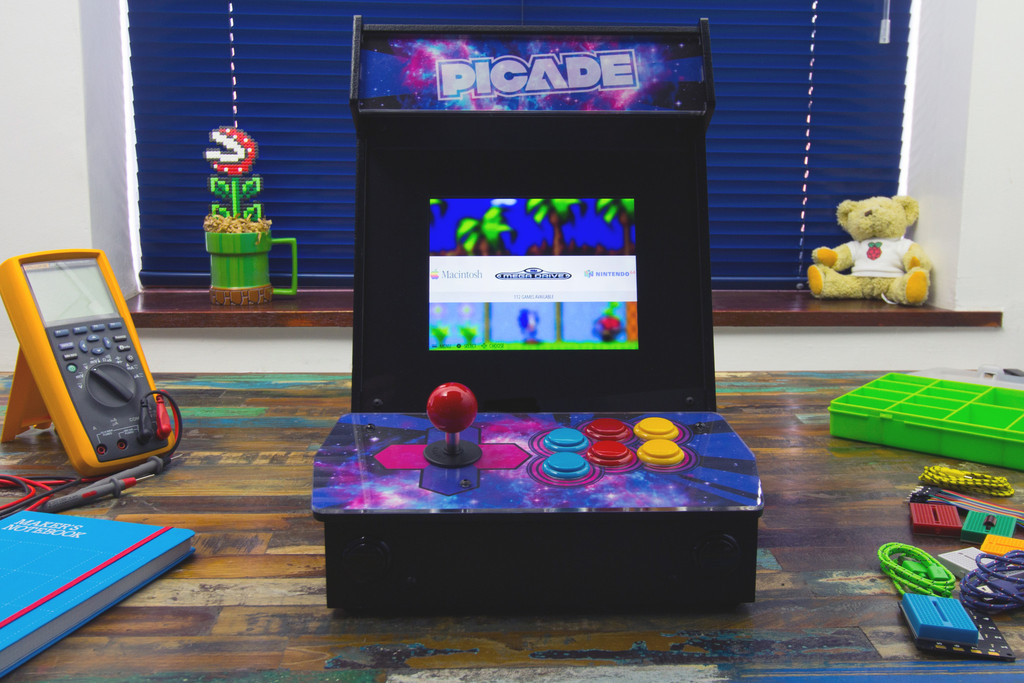
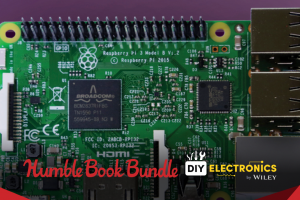
The Picade is a mostly complete kit in your choice of two sizes of joystick-based mini-arcade cabinet. The only thing that’s missing is the brains to actually play the games. Typically, this is some version of the Raspberry Pi, which I plan on using (right now I have an original Raspberry Pi on hand, but if I get that working I’ll swap it out for the latest model), but the kit is also designed to accommodate any of a number of other inexpensive small form factor computing devices.
While there are video tutorials online, I’m mostly following the paper manual that’s included with the Picade because I have no way of knowing at this point what version of the kit someone else may have. In any case, in general, the included manual is well written and easy to follow, although there are some parts that could really benefit from more visuals or a better description (more on that later). So, without further ado, here I go:

These are all of the components from inside the shipping box.

I’m getting the components ready for the first part of the build, which is the base.

Attaching clips.

Attaching the rubber feet. This part you kind of wing with general guidelines from the manual.

Attaching one of the side panels. You always know what part faces the inside because it has text on it.

The other side panel and top panel.

Placing the monitor.

Choosing a marquee. I chose the one in the middle.

I removed the backing and sandwiched the marquee as indicated in the manual, but it’s hard to see. Clearly something is wrong here, but I don’t know what. It’s not something I want to bother with at this point.

Securing the speakers to the case.

This is where the manual failed me. The rear door is very difficult to know how to attach. I consulted a video that gave me a clue, but it still wasn’t quite enough to avoid re-doing this many times. Essentially, one part of the hinge goes on the outside and the other part of the hinge goes on the inside. I think on mine I have it reversed, so it probably doesn’t look as good as it’s supposed to. I can’t be sure, though. In any case, I was also only able to get two of the four screws and bolts in. It seems stable enough, so I’m leaving it. What a headache!

Attaching the clip that holds the rear access panel in place. It works well.
In the later photos, you’ll note fine black dust on the table cloth. That’s from repeated screwings of the door. The cabinet is powder coated well, but it does come off with abuse.
In part two, I’ll start in on the joystick control panel.
Read the rest of the series:

Leave a Comment